Chats/Quidgets
This section allows setting up Quidgets — customer connection channels that can be integrated into the source code in the website pages.
List of Quidgets

- Active Quidgets.
- Disabled Quidgets.
- Add a new Quidget.
- Sort according to abbreviation, company, Quidget name, created or last modified date.
- Ascending/descending sorting.
- Quidget icon and name.
- Abbreviation of the company using a Quidget.
- Name of the company the Quidget is assigned to.
- Edit Quidget settings.
How to find a Quidget ID?

Quidget settings
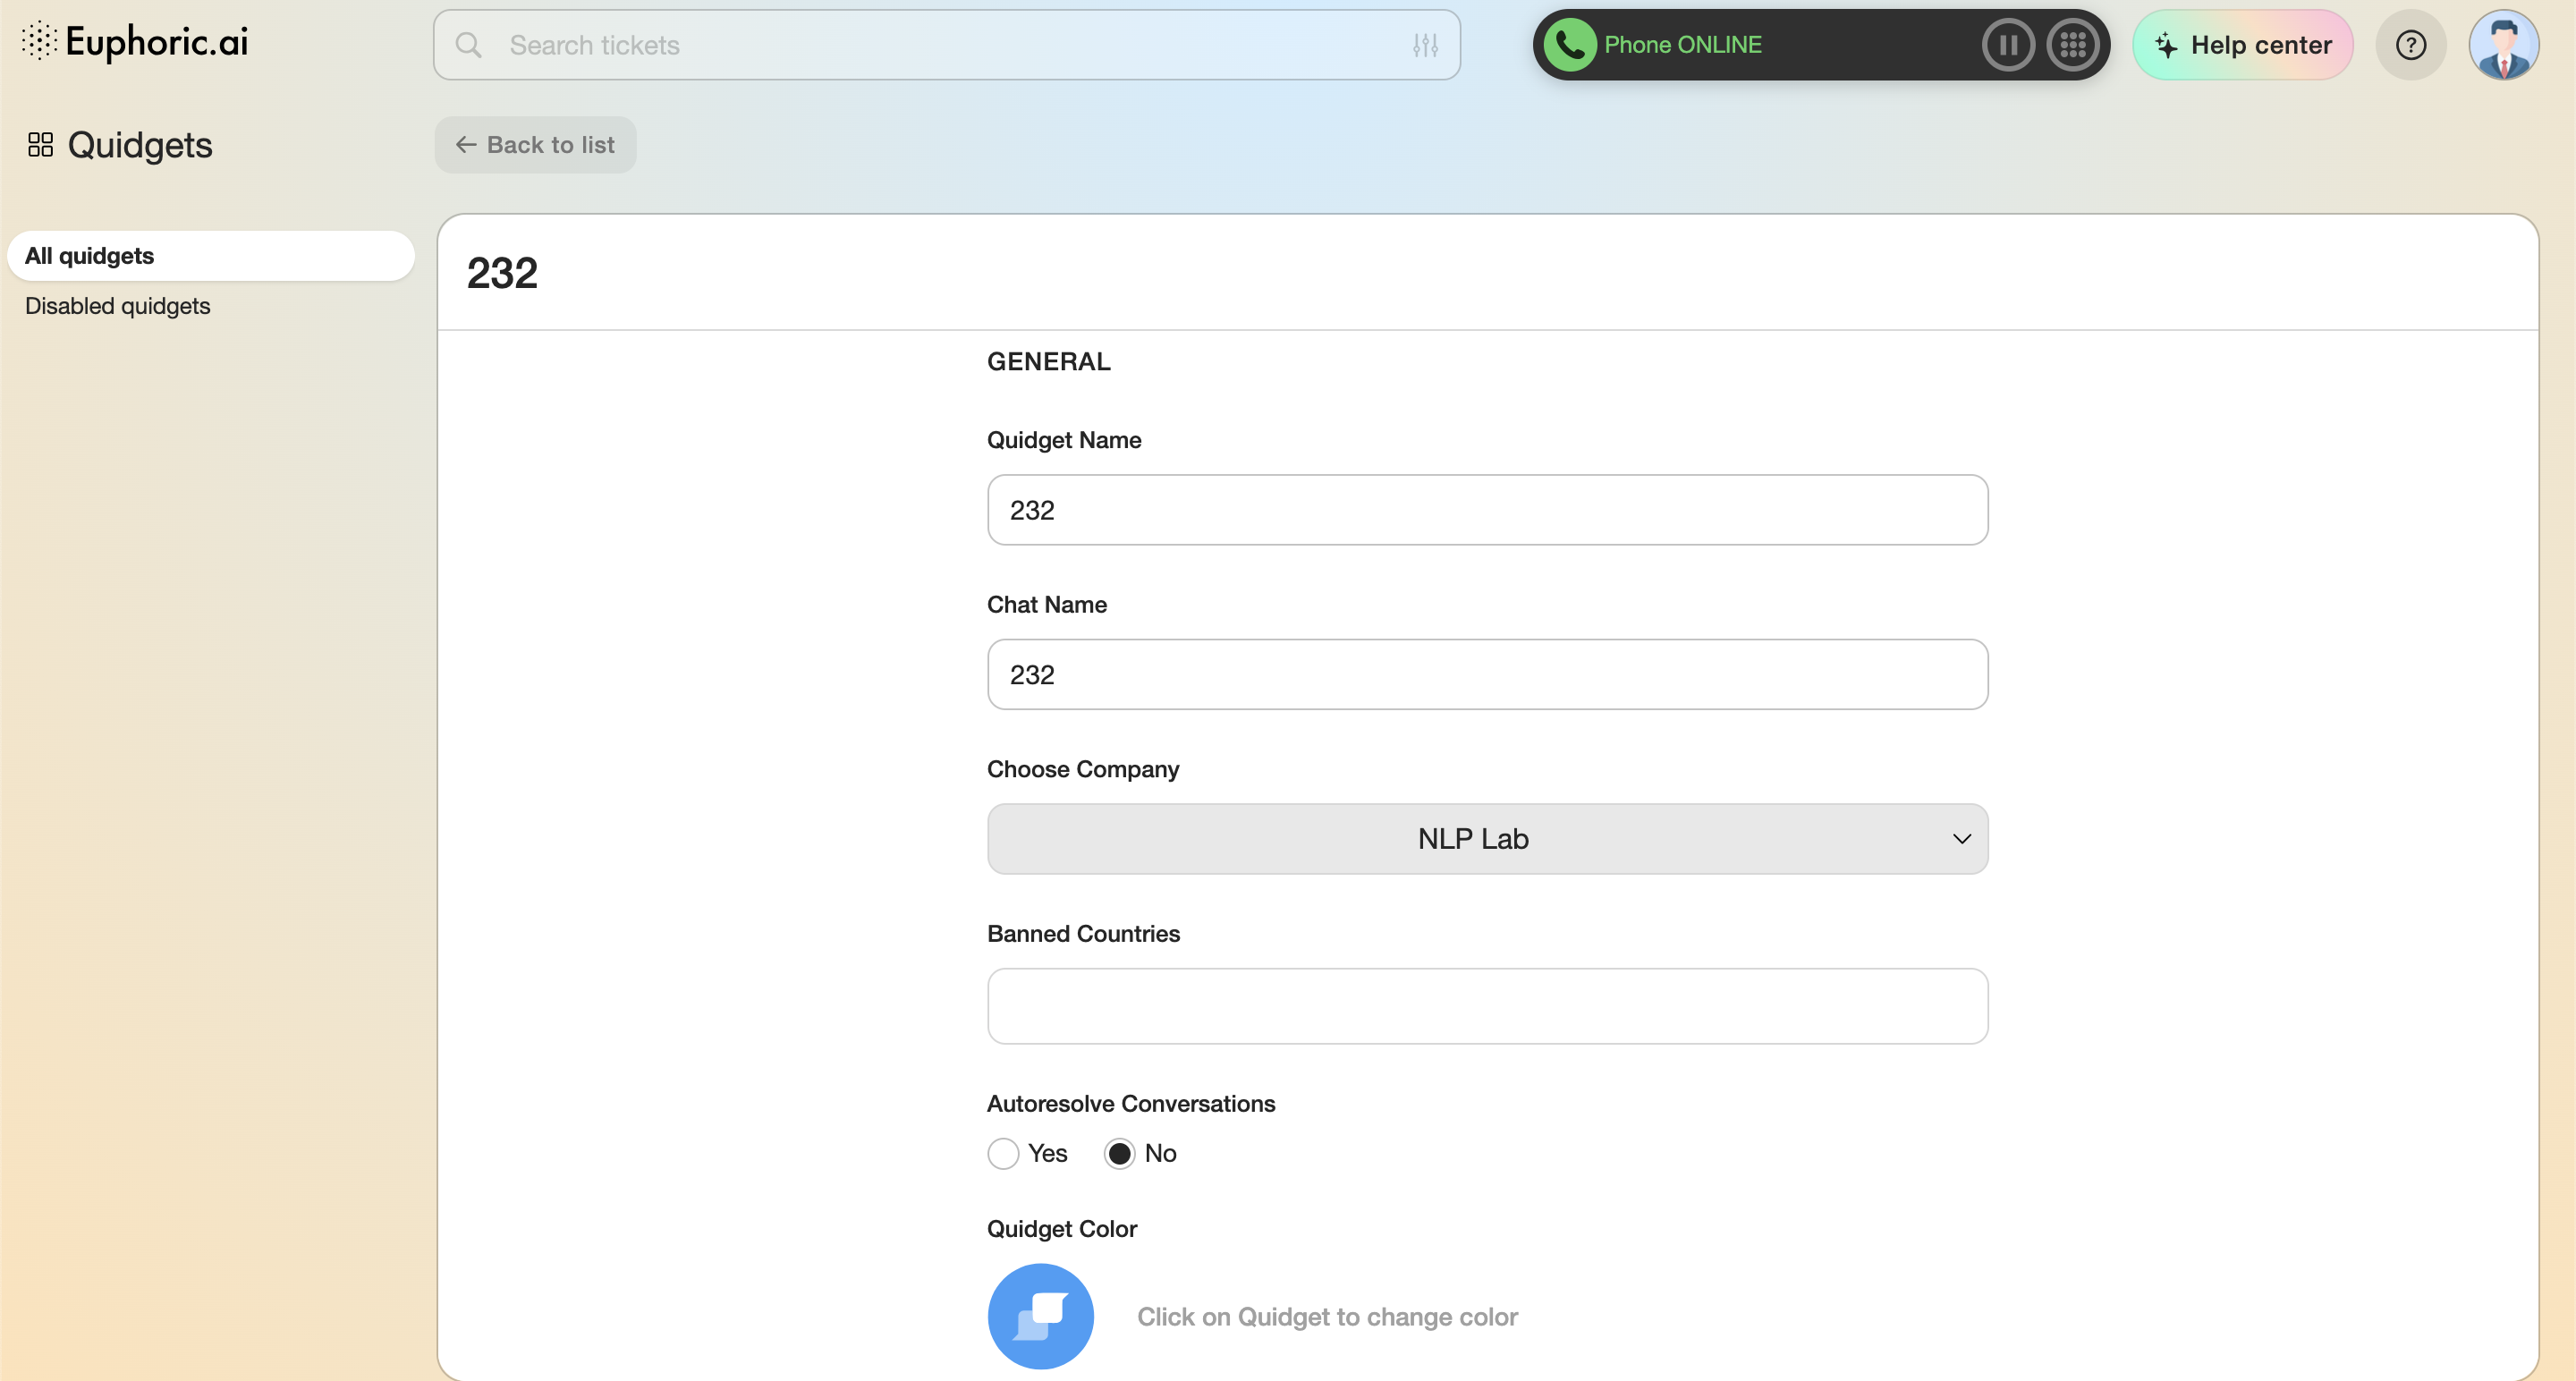
1. General
1.1. The name of the quidget.
1.2. The name of the chat ticket that will open after the first message a user sends via the quidget.
1.3. The company the quidget will be assigned to.
1.4. The countries, quidgets will not work in (some countries forbid certain products, so this field should be used to follow the laws of the particular countries).
1.5. Autoresolve conversations. When this option is on, tickets will automatically be marked as resolved after some time.
1.6. Quidget icon color.

2. Messages
Allows editing the text of the automatic message that will be sent to a user after the first email to the support team.
2.1. Bold.
2.2. Italic.
2.3. Underline.
2.4. Text color.
2.5. Bulleted list.
2.6. Numbered list.
2.7. Smart tag.
2.8. Insert the link.
2.9. Erase the formatting from the selected text.
2.10. Check HTML for a created message.
3. Products
Allows to select a product a quidget will be attached to. Can be searched by product name and abbreviation.

4. Script
Using an automatically generated script, a quidget can be inserted into the source code of a website page. This script will be generated automatically after saving a new quidget. You can copy the entire script in one click by clicking the Copy button, which will appear when you move the cursor to the window’s upper right corner.
5. Status
Quidget’s created and last modified dates.
At the end of the list of settings, there are buttons to save and disable the quidget. A disabled quidget is added to the general list of disabled quidgets.