Tickets
A ticket is a user support request that comes by email, call, chat, or through a special field in the product we support.
A ticket is an independent object containing all information about all events (calls/emails/chats). It is created automatically when the QCRM system interacts with a client or a consultant.
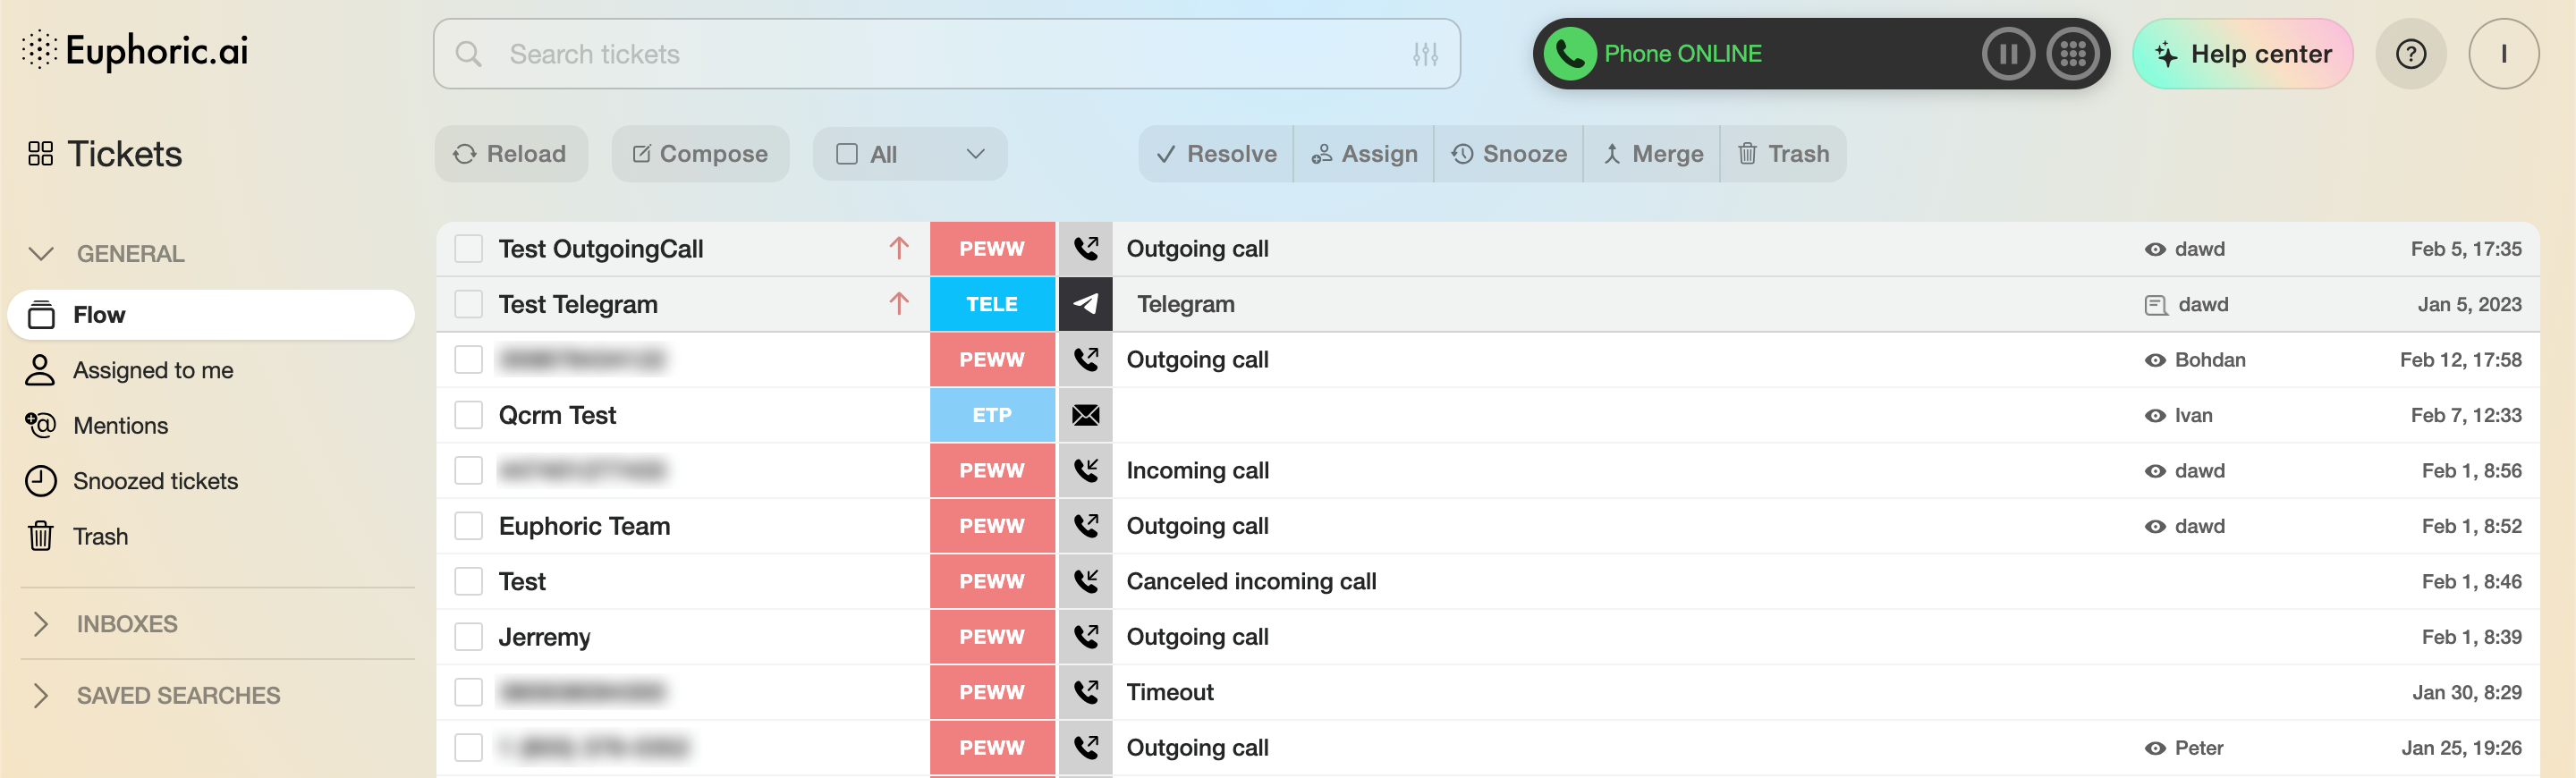
1. Tickets Flow
Every request comes into our system in the following form:
-
Flow. General unfiltered list of all tickets.
-
Assigned to me. A group of tickets assigned to an agent.
-
Mentions. A group of tickets that mention an agent in the comments. To mention an agent in the comments, enter their username as follows: @johndoe. A suitable agent can be selected in the window that opens. After this, the agent will be able to find the ticket in the group.
-
Snoozed tickets. Tickets with snoozed notifications.
-
Trash. Tickets that were moved to the Trash category.
- Inboxes. The list of all available mailboxes to the current user. Selecting a particular mailbox will apply a search filter, showing all tickets, associated with the selected mailbox in the flow.
-
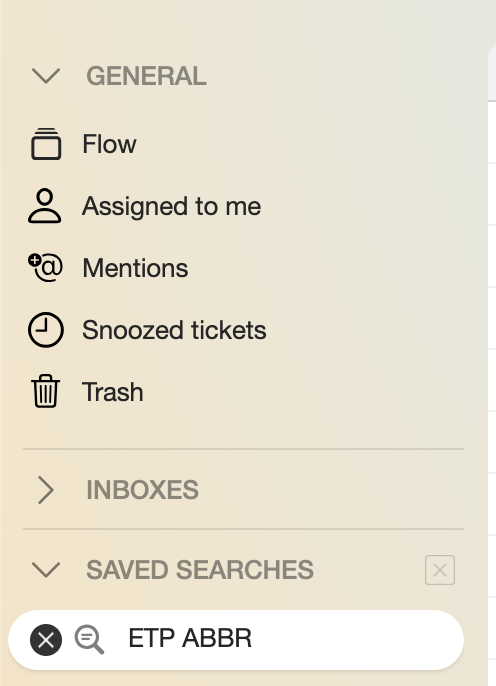
Saved searches. A group of tickets filtered by a saved search query (more about it in “Saving a search query”).
-
Reload. Reload the page with a group of tickets.
-
Compose. Compose a new email. It will open a new window with address, subject, and email body input fields.
-
Selection. Select all tickets from the list. Separate tickets can also be selected (17).
-
Resolve. Mark the selected tickets as Resolved.
-
Assign. Assign the selected tickets to another agent.
-
Snooze. Snooze a ticket for a specified period of time:
- Until tomorrow. Snooze a ticket until the next day from the Created date.
- Until next week. Snooze a ticket for 7 days from the Created date.
- Pick date & Time. Snooze a ticket for a specified period of time.
By clicking the Pick date & time button, a pop-up window with a calendar with a choice of date and time you can snooze the ticket for will open. After choosing the date and time, click Snooze.
-
Merge. Merge selected tickets into one.
-
Trash. Move selected tickets into Trash (5).
-
Ticket selection button. It appears when the cursor hovers over a specified list area.
-
A customer's name/phone number/email address.
-
Product abbreviation. An upward arrow indicates an outgoing message, a downward arrow indicates an incoming email.
-
"VIP" note. Tickets with a higher priority. They are highlighted on top of the general list. If there is no icon, users will see right-facing arrows. They indicate that the ticket contains incoming and outgoing messages.
-
Ticket type icon.
-
A short description of a ticket and a small part of the inquiry’s text.
-
A sign indicating an agent’s interaction with a ticket. The Eye indicates the ticket has been viewed by an agent but wasn’t processed. Three animated dots — the ticket has been processed by an agent, other agents temporarily cannot access the answer. Blue text sign — a comment was added. Pink text sign — ticket was escalated to the second tier. Green check mark — the ticket was resolved.
-
The name of the agent who edited the ticket last.
-
Last edit time.
1.1. Search queries
Every ticket has a filtering option for a better navigation.
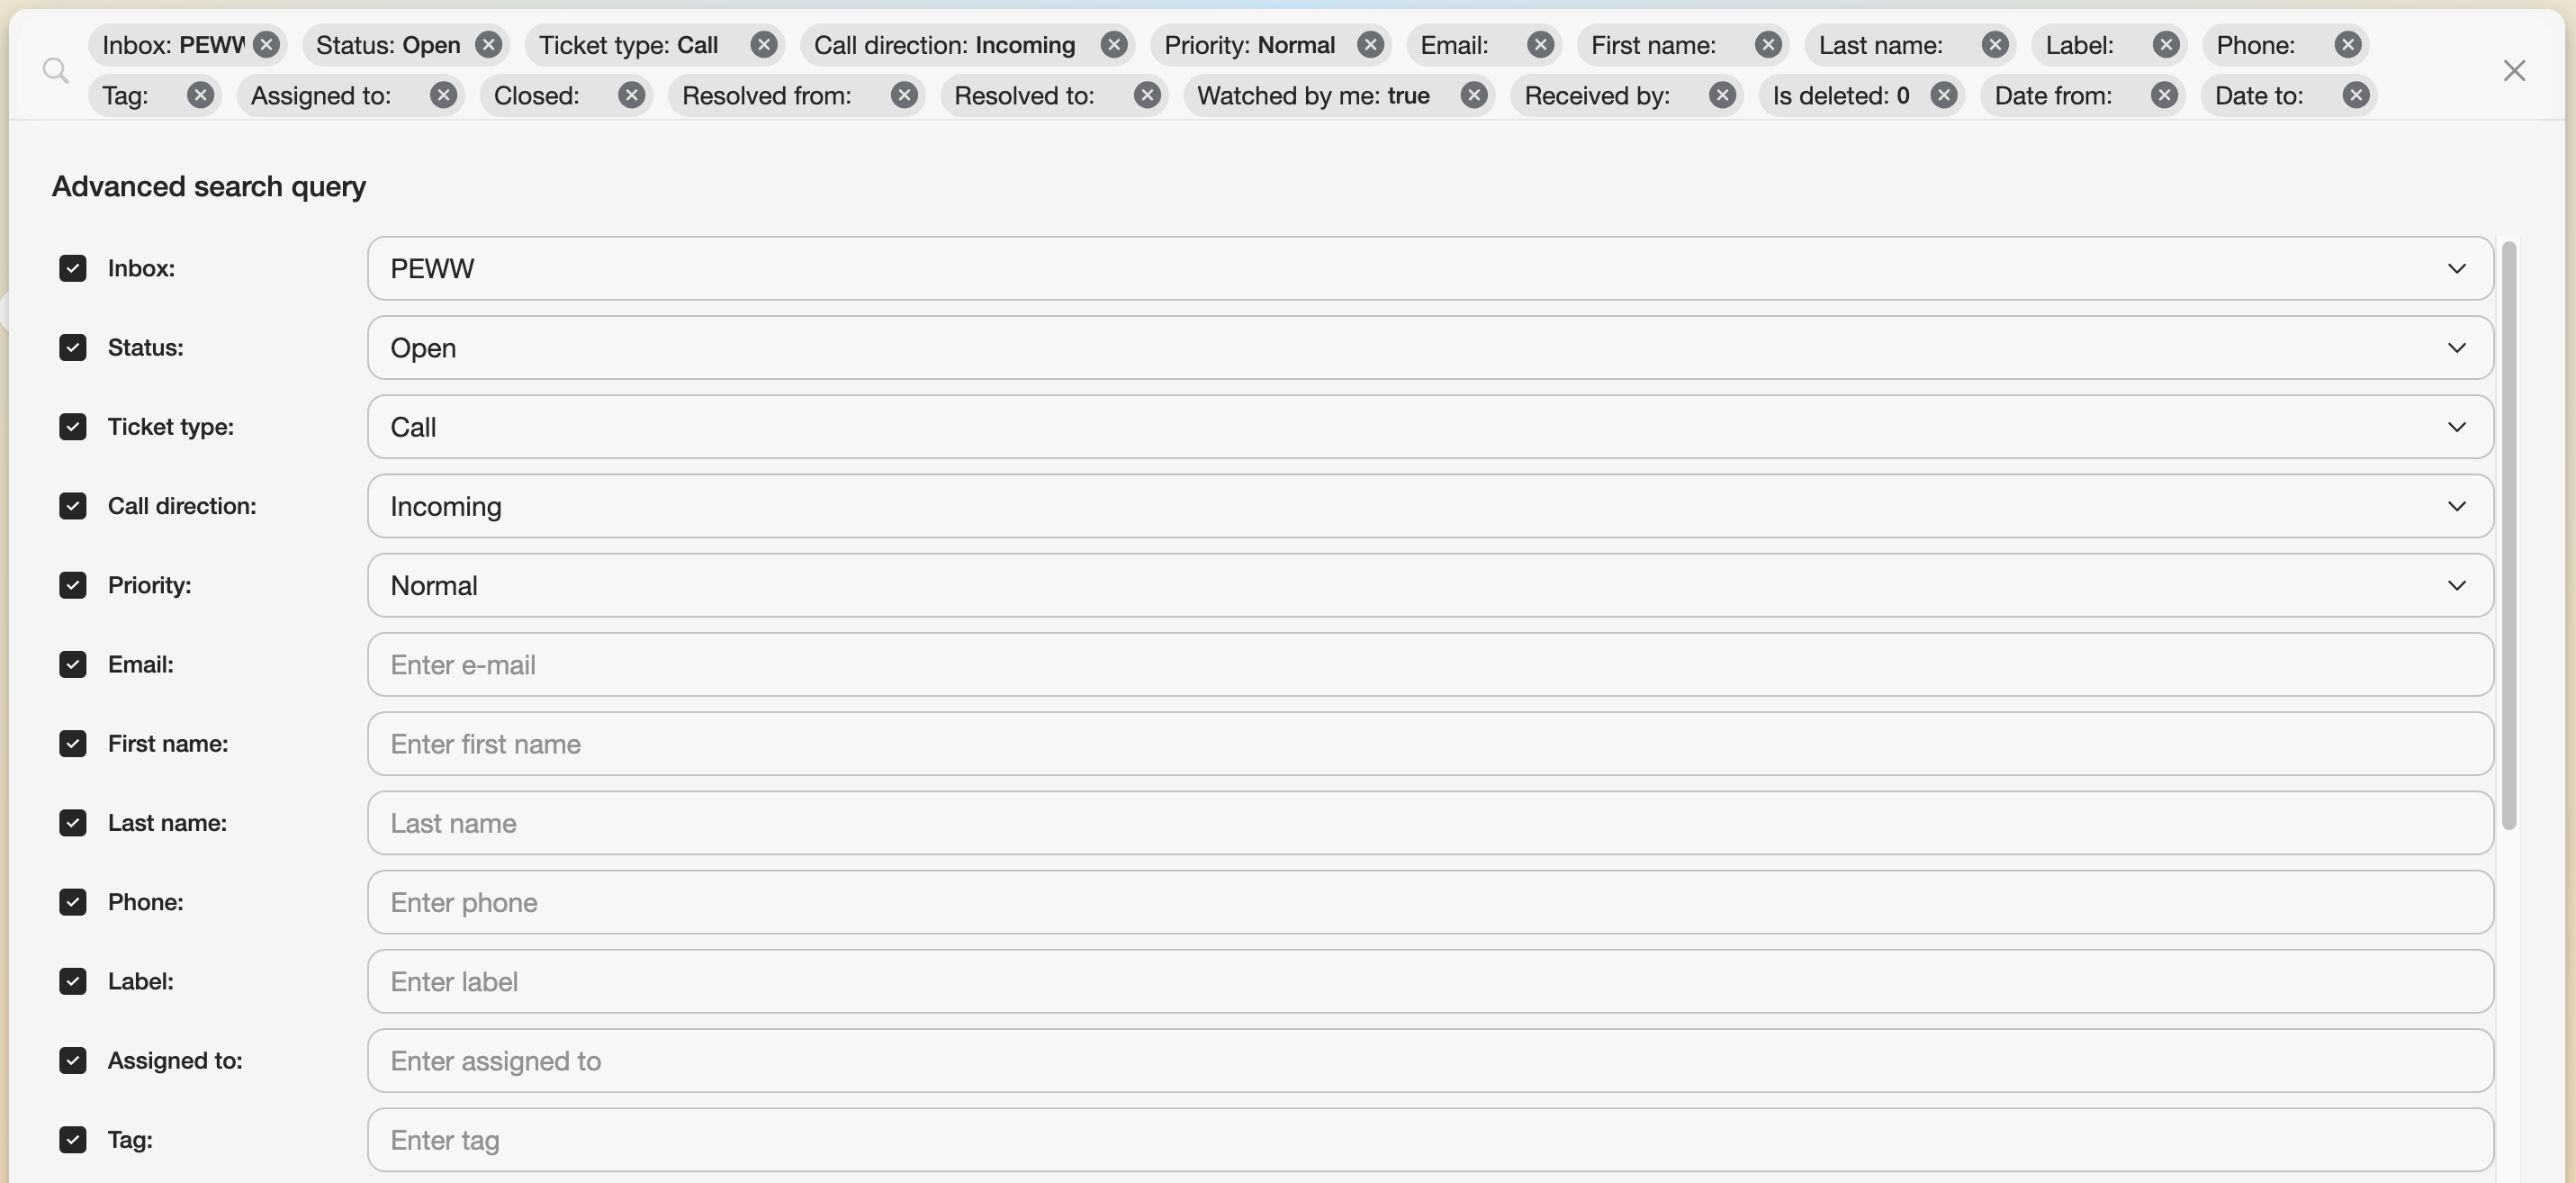
You can choose a particular filter by clicking on the settings icon in the right corner of the Euphoric search field. Also, you can type the filters into the search field manually, for example: abbreviation: ABR and press Enter on your keyboard.

The most popular options are inbox, email and type.
1.2. Saving a search query
To access a filtered group of tickets fast, any search query can be saved into the Saved searches drop-down list on the left side of the interface.
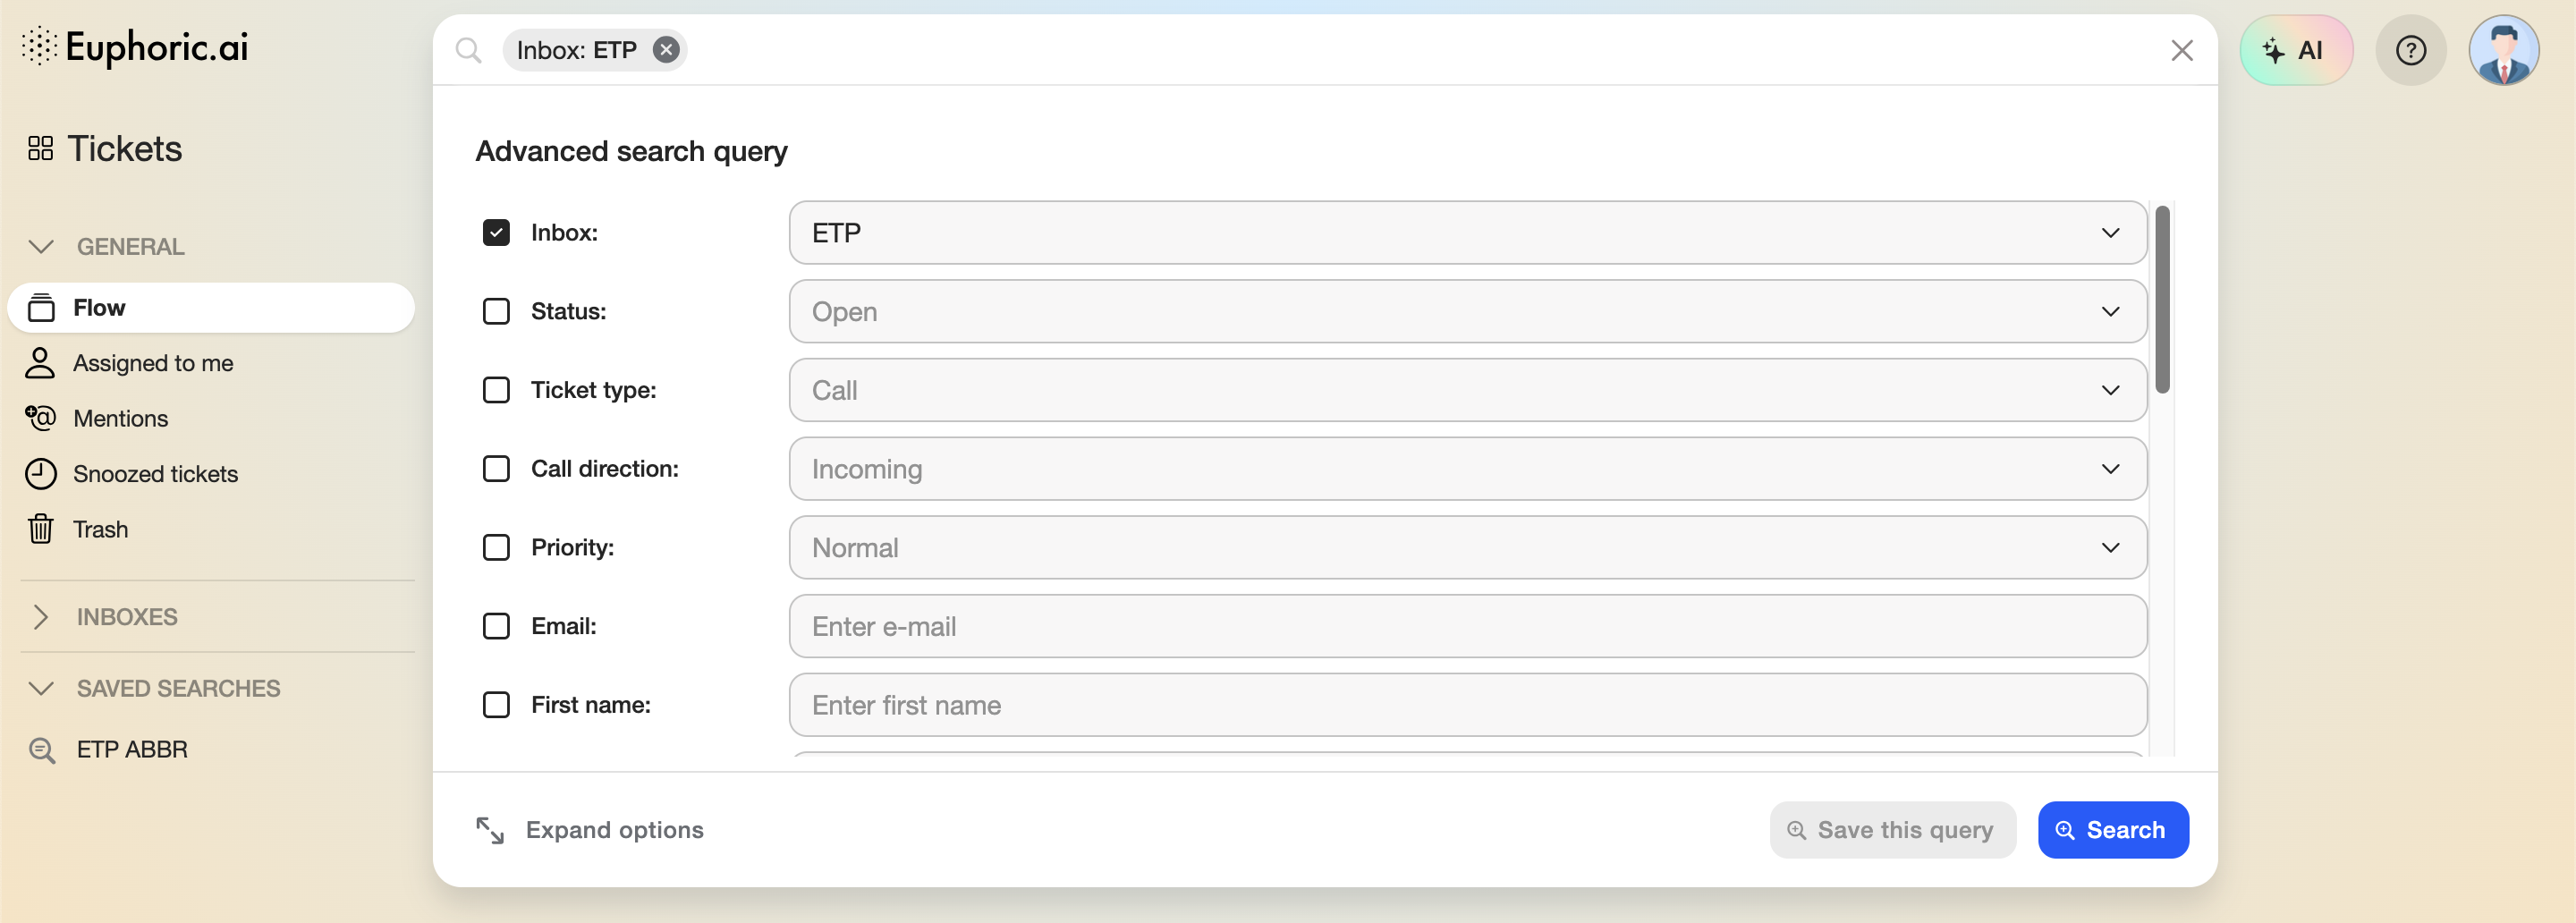
First, you'll need to open the search bar filters menu by clicking on the settings icon in the right corner of the Euphoric search field. Then a search query should be formed by selecting at least one filter. Then press Save this query button.
 |
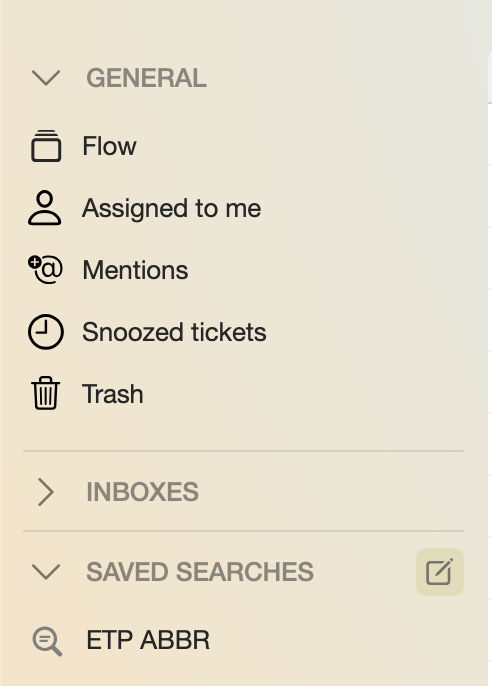
On the next step, enter a name of the new query and press Save search. The saved query will appear in the list on the left side of the screen with the name you entered on the previous step. |
If a saved search query needs to be deleted, hover a cursor over the right side of the Saved searches list heading and click on the edit button.
 |
 |
1.3. Ticket ID
 Every ticket has its own ID. It can be found in the browser address bar. This Ticket ID may get useful for quick navigation in the list of customer inquiries, mostly, when a customer makes several requests using different emails or phone numbers.
2. Email ticket type
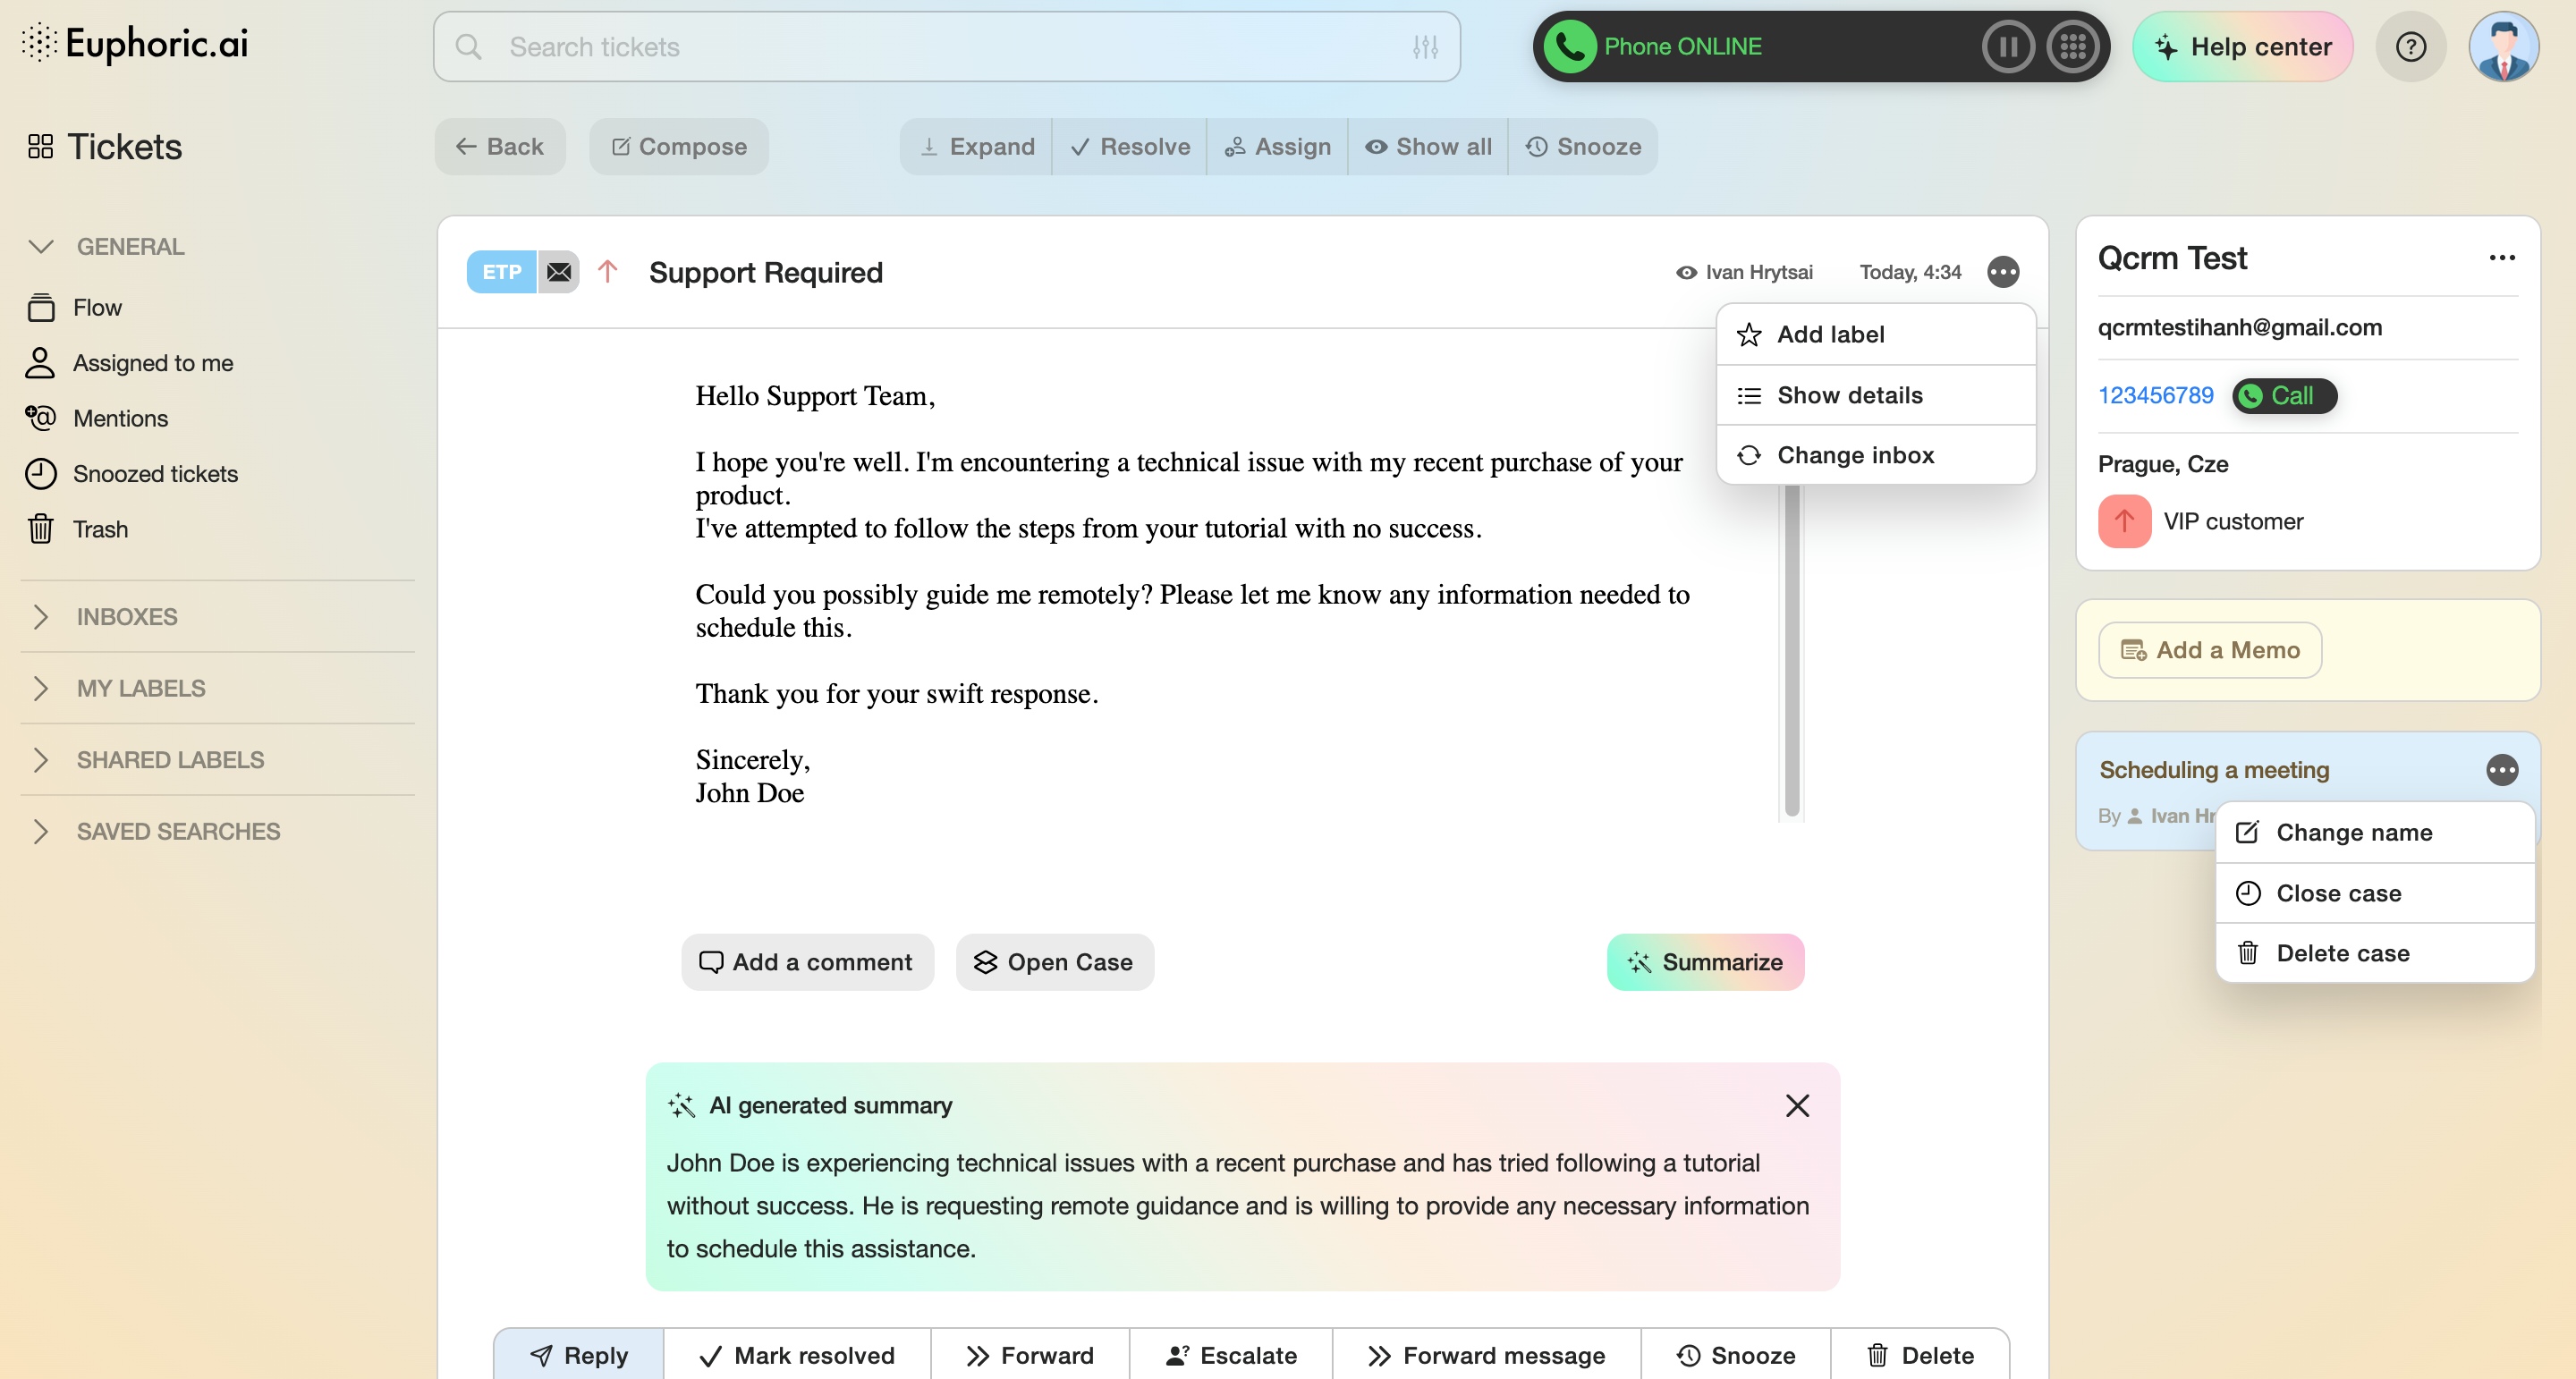
This ticket type provides all necessary tools for swift and comfortable communication with your clients.
Here's the list of the interface elements:
-
Come back to the ticket list.
-
Compose and send a new email. After pressing this button while viewing ticket details, the receiver and email subject information is filled in automatically. Although, both of them can be changed to any other.
-
Expand the ticket messaging thread.
-
Mark all sub-tickets as resolved.
-
Assign all unanswered messages to another agent.
-
Snooze all messages for a ticket for a specified amount of time.
-
Product's Inbox abbreviation.
-
Ticket's status is VIP. This ticket will be fixed in the Ticket Flow above all other tickets. You can edit the VIP status in contact's settings.
-
Subject of the email.
-
Information about the cases that were opened earlier.
-
Expand all sub-tickets
-
Show details. It shows the ticket type, sender and receiver as well as its subject.
-
Label. Creates a group of tickets with the name of the label in the left-side menu, below the list of the saved searches, which includes all tickets marked with this label. Labels can be private or shared with the whole team.
-
Support agent's interaction with the ticket (viewed, commented, assigned or resolved).
-
Date of the last changes made in the ticket.
-
Edit information on the customer. This list also allows promoting a user to a VPN-user.
-
Add a
notememo to theclient.client's profile. This note will be only visible to the support team, the customer will not see it. -
Settings of the opened case. You can change the name of a case, close/reopen the case, or delete the case if needed.
-
Write a comment. The inner comment will follow the last message in the thread. It is not visible for the client.
- Open a case. Helps to keep track of the main support events.
- Summarize with AI. Will extract the key information from the email for a faster and better processing.
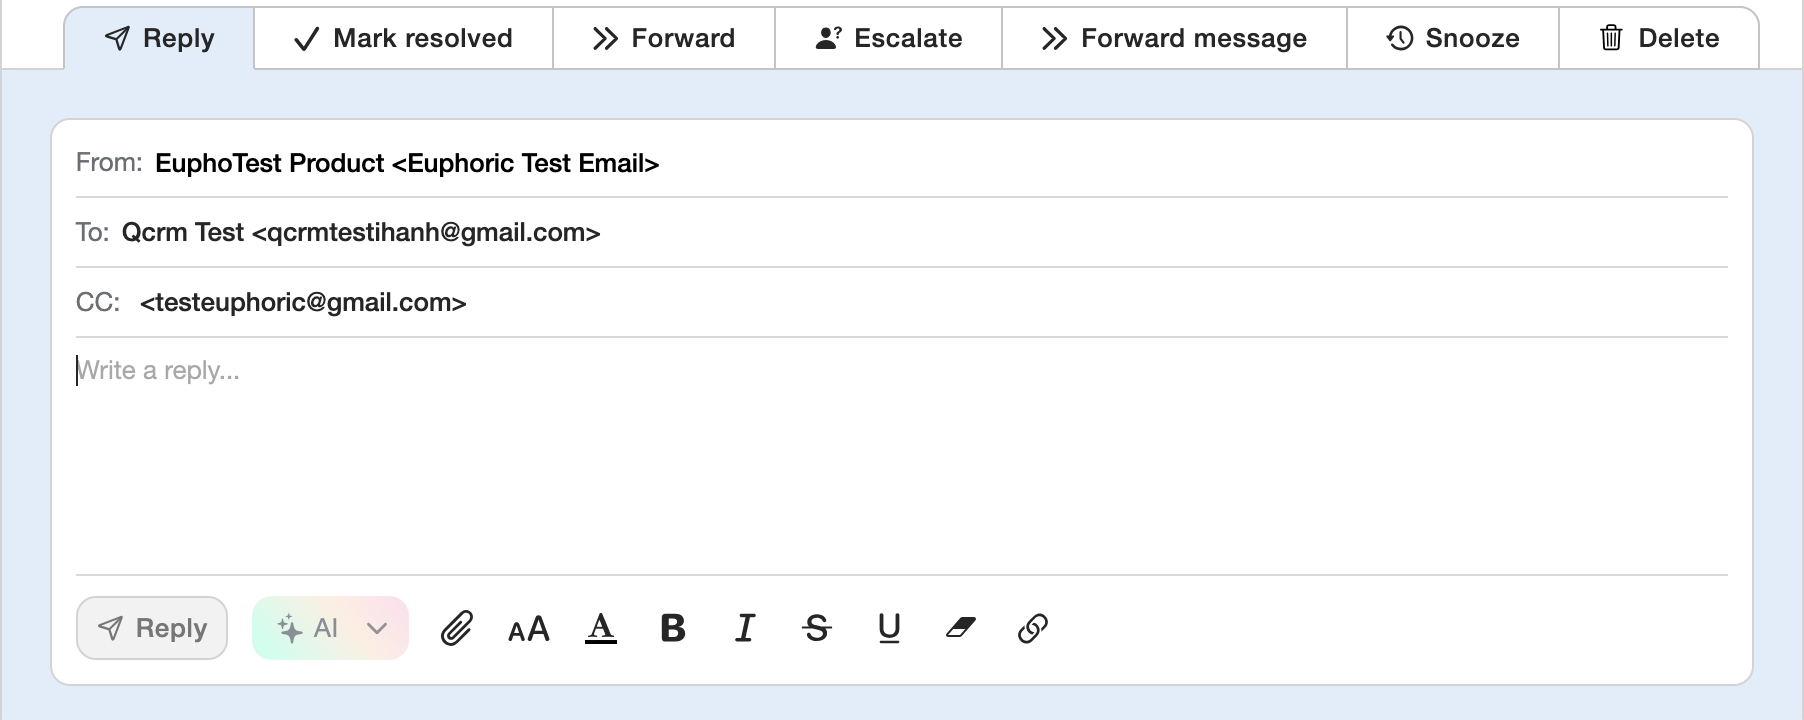
2.1 Ticket answer field
-
Tab to reply to the customer.
-
Tab to resolve the ticket without reply.
-
Forward. Assign the ticket to another support agent within your team.
-
Escalate the ticket to a vendor (higher support tier).
-
Forward the email text to another receiver.
-
Postpone the ticket for a specific time.
-
Delete the ticket.
-
Sender's and receivers' name.
-
Reply text field.
-
Templates selection. You can see more information on how to add new templates in article Templates.
- Open templates list.
-
Tags selection.
- Tag search. You can also add new tags (use wisely, to not flood the tag list).
-
Send a reply to the email.
- AI reply composing tools.
-
Attach a file.
-
Font size.
-
Text color.
-
Bold font.
-
Italic font.
-
Strikethrough text.
-
Underlined text.
-
Erase all entered text.
- Add a link.
2.2. Ticket labels
|
|
|
|
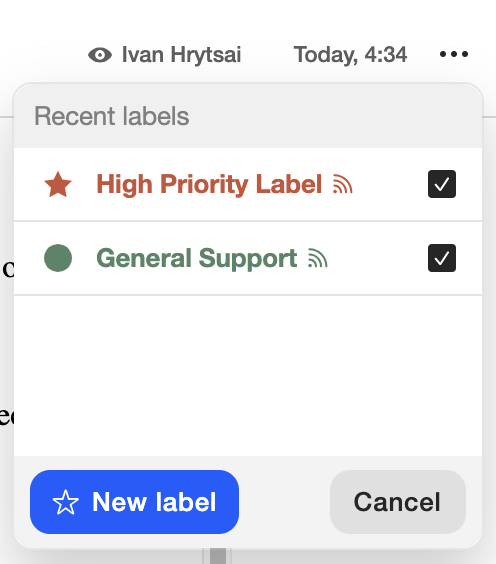

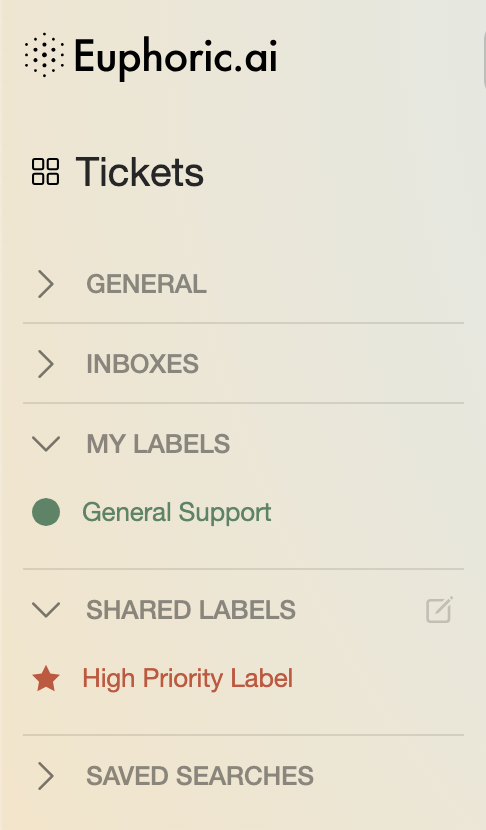
Labels help to sort tickets, uniting them in custom groups. Also, an important thing to note – you can automatically share your the labeled group of tickets with your whole team, or leave your label private, only visible to yourself. You can find all created labels in the left menu under the dedicated drop-down list heading My labels and Shared labels. You can edit the list of labels and saved searches by hovering your cursor over the list heading and clicking on the settings icon. More info about the right and left menu is described in the article Interface overview.
-
You can create a label by clicking on the three vertical dots, next to the agent's name who did a last interaction with the ticket (section 2).
-
In the label creation window you can choose a label from the list, or create a new.
-
Label name, color, shape.
-
The label privacy. You can leave it private by default, or choose a team to share it with.
- After clicking Create New Label, you'll find the created label in the left menu of Euphoric interface, divided by two drop-down lists of Private and Shared labels.
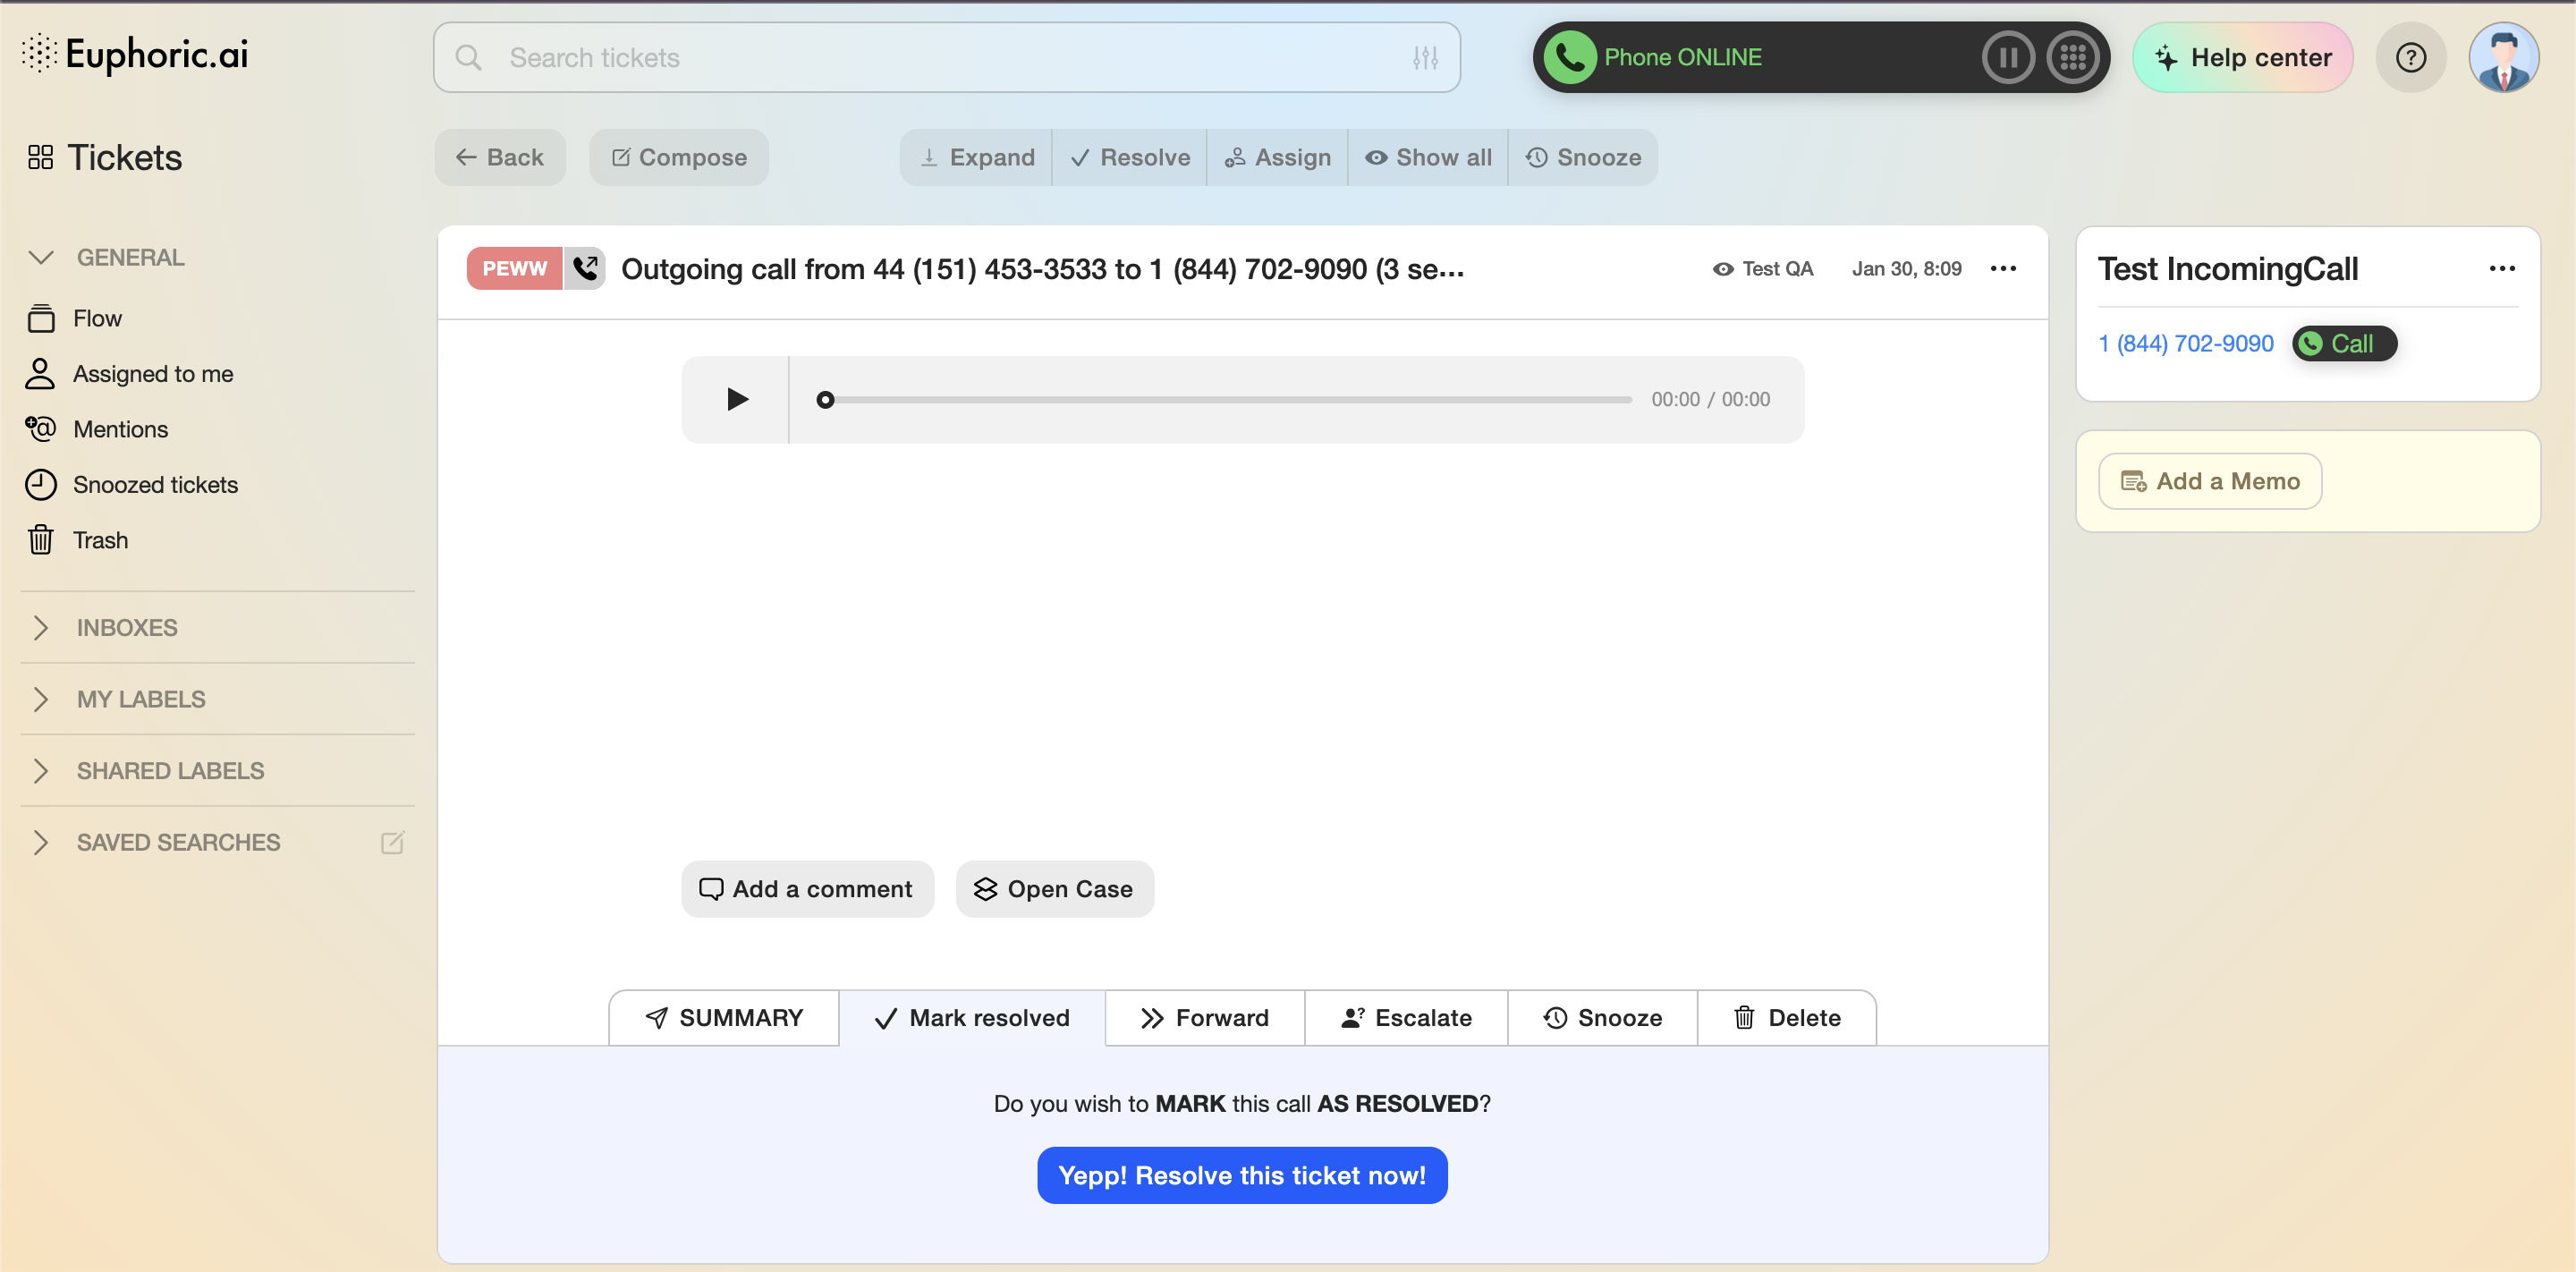
3. Call ticket type
After successful or failed incoming or outgoing call, system automatically creates a new Call ticket.
-
Play a dialogue/call recording.
-
Write a summary of the call.
-
Resolve the ticket without a summary.
-
Assign the ticket to another user.
-
Escalate the ticket to the vendor’s internal support.
-
Snooze the ticket.
-
Delete the ticket.
Learn more about this ticket type in EPhone article.
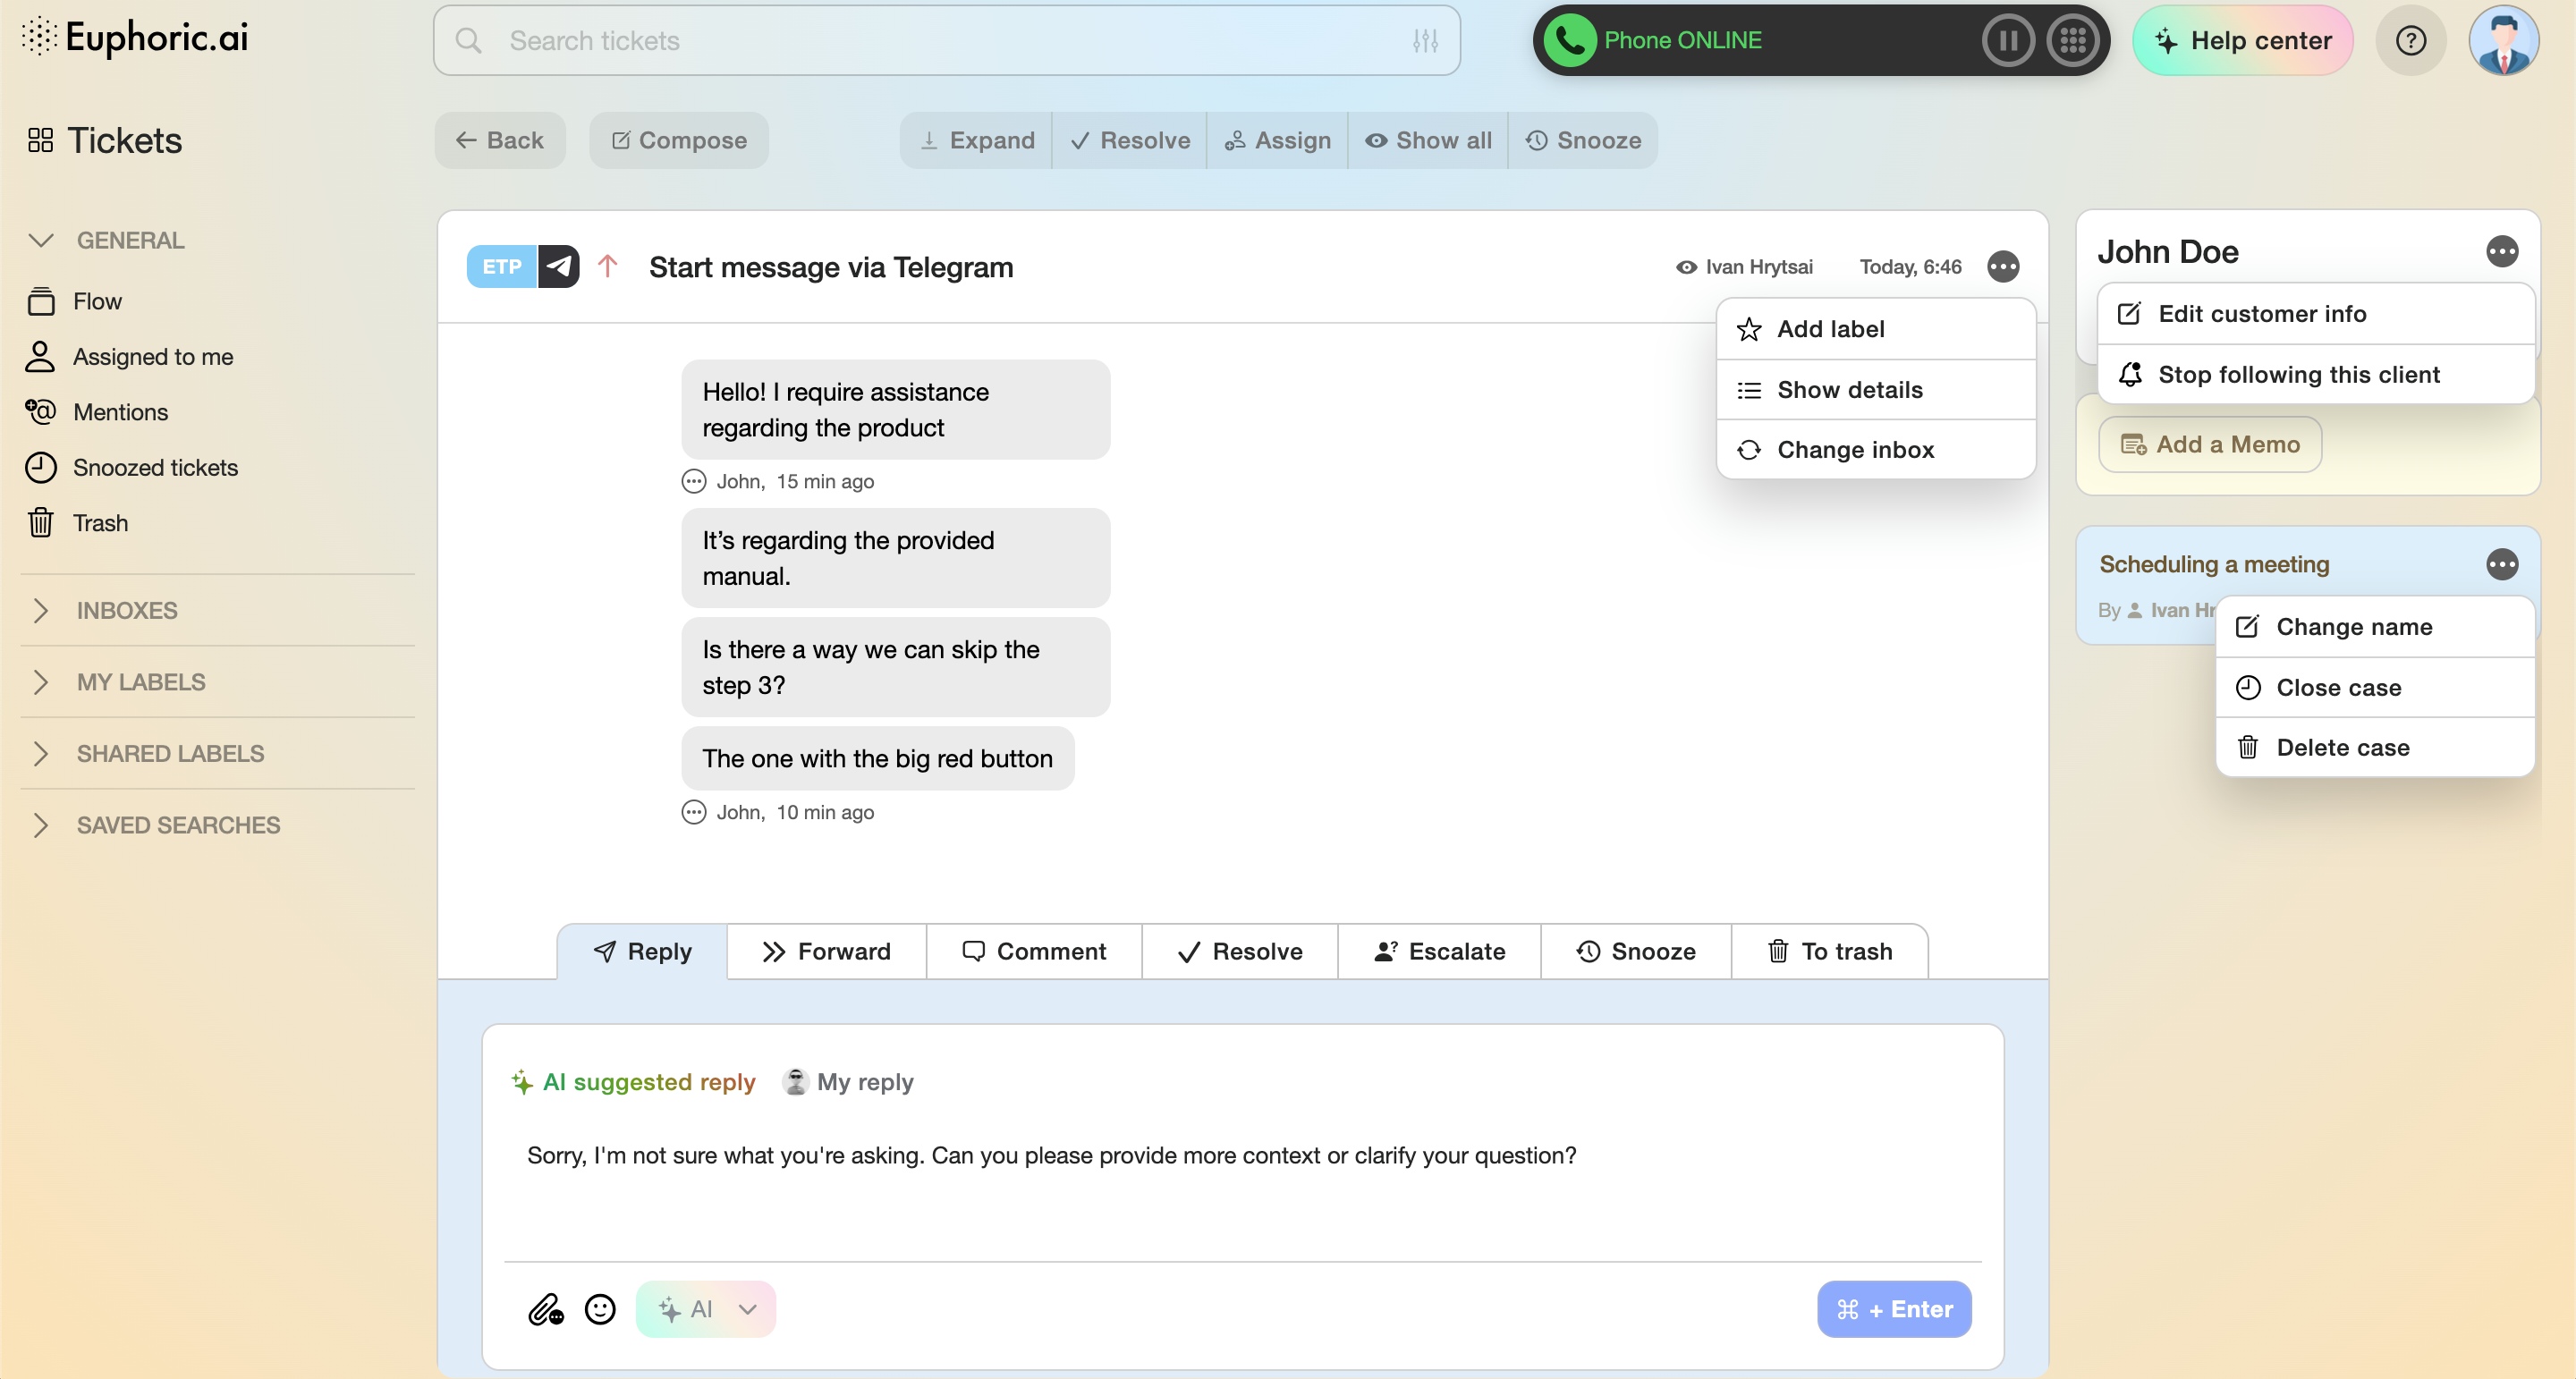
4. Chat ticket type
Euphoric chat may be integrated into any site, app and to most of popular messengers, including Telegram, Viber and WhatsApp.
-
Product abbreviation and ticket type.
-
Priority. Red arrow up indicates a higher priority (VIP status).
-
A user’s messages.
- Reply field. The answer will only be sent after pressing the Reply button.
-
Pregenerated AI answer suggestion.
- Forward. Assign the ticket to someone else in your team.
-
A tab for adding an internal chat comment. Customers do not see it.
-
Mark a ticket with the chat as resolved.
-
Assign a ticket to another agent.
-
Escalate a ticket to the second tier (to vendor email).
-
Snooze notifications.
-
Send the ticket to Trash (only if approved by the supervisor).
-
Attach a file to the reply. A message with an attached file is sent immediately after the file is selected. It is not possible to leave a comment to the message with the image.
-
Send a sticker (available if the chat is conducted via the Telegram/Viber integration).
A single Euphoric ticket may contain all 3 ticket types within a particular customer profile. The different types of tickets will merge automatically, should the customer profiles contain identical phone numbers. Also, you can always merge them manually.