Templates
This section allows editing email Templates to be able to answer customers quickly. For easy navigation, these Templates are combined into groups – Categories.
List of Categories

- Active template categories.
- Disabled template categories.
- Add a new category.
- Add a new template.
- Sort the categories according to company, number of templates, name, created/last modified date.
- Ascending/descending sorting.
- Navigation buttons.
- Name of the template category.
- The number of templates in the category.
- Open the list of templates in a selected category. Learn more about it in the General list of templates.
- A team the ticket category is assigned to.
- Edit the template category.
To distribute the necessary categories of ticket templates into individual products, a user should first connect these categories to the company that includes these products.
Category settings
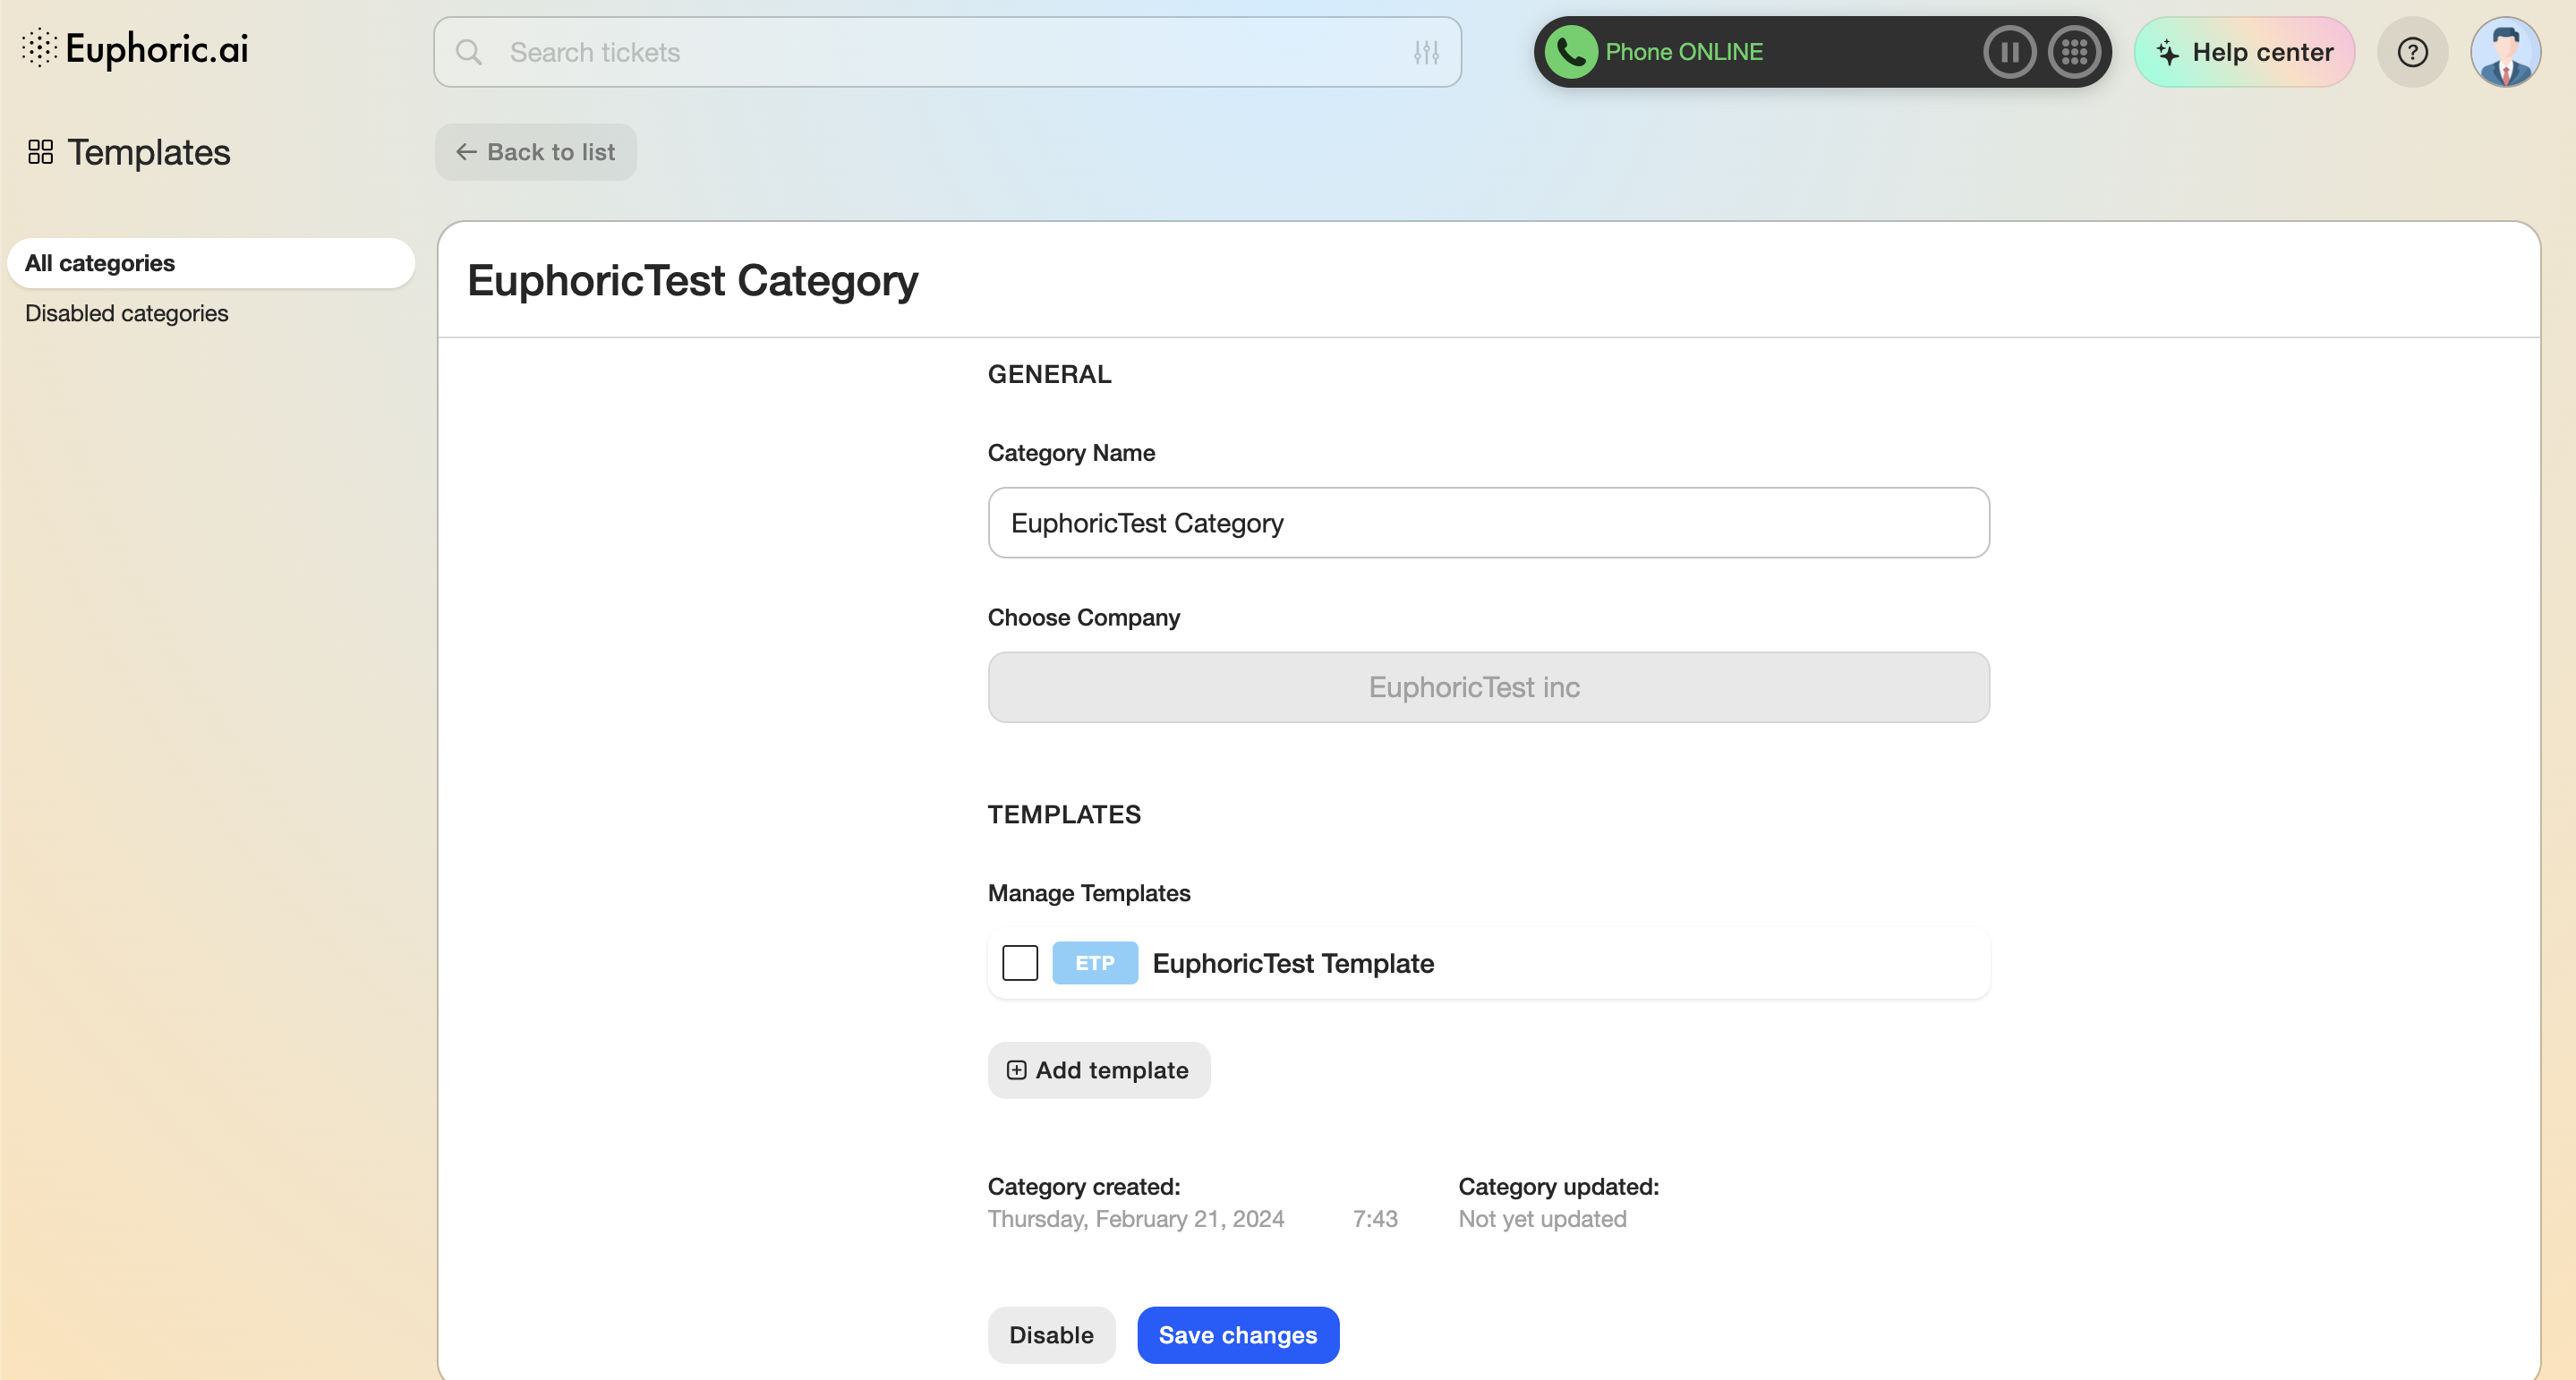
1. General
1.1. Edit the name of the template.
1.2. Choose a company the category will relate to.
2. Templates
The list of templates included in the category.
2.1. Remove selected templates from the category.
2.2. Add a new template into the category.
3. Status
The category’s created and last modified dates.
As usual, at the end of the list of settings, there are buttons to save and disable the category. A disabled category is added to the general list of disabled categories.
List of Templates

- The name of the category the template is included into.
- The product the template relates to.
- A team the template is included into.
- The number of times the template was used to answer customers.
- Template settings.
Template settings

1. General
1.1. The name of the template.
1.2. Choose the company the template relates to.
1.3. The type of the tickets the template can be used for (message or chat).
1.4. Choose the category the ticket is included into.
1.5. Add a new category.
1.6. Choose a selected ticket for auto reply.
2. Message
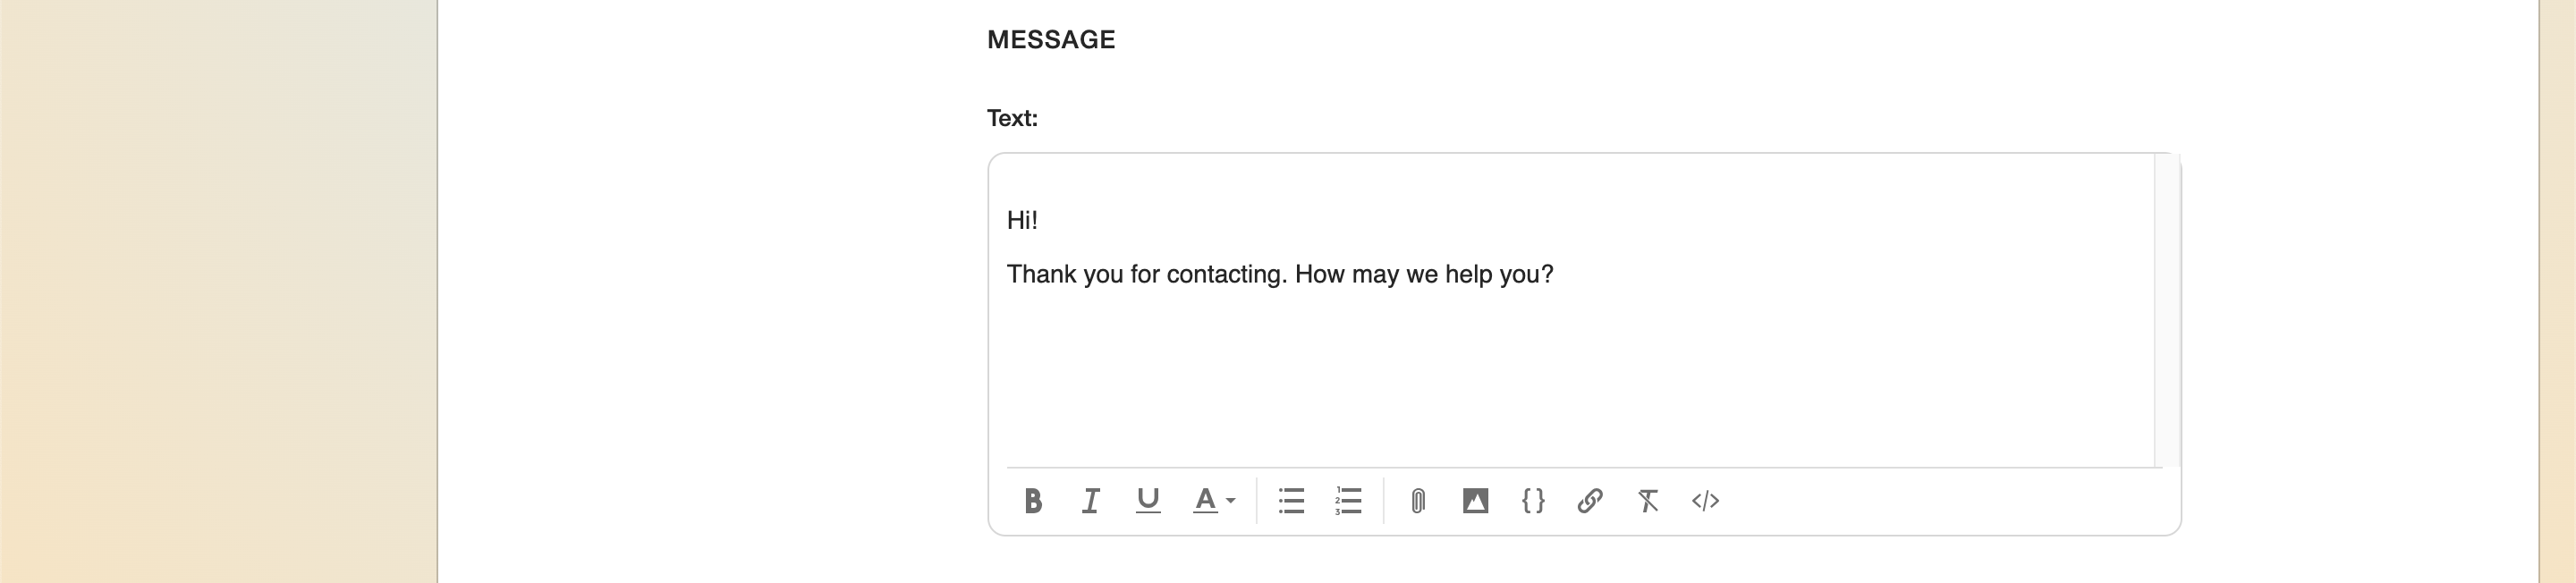
Edit the text of the template.
2.1. Bold.
2.2. Italic.
2.3. Underline.
2.4. Text color.
2.5. Bulleted list.
2.6. Numbered list.
2.7. Attach a file. Size (Should not be larger than 50 Mb)
2.8. Attach an image.
2.9. Smart tag. A useful tool for automation.
2.10. Insert a link.
2.11. Clear text formatting.
2.12. Check HTML code of a created template.
3. Product

Choose a product the template can be used with.
4. Status
Template’s created and last modified dates.
At the end of the list of settings, there are buttons to save and disable the template. A disabled template is added to the general list of disabled templates that can be viewed in item 2: Templates.